There are numerous companies in the world that are trying to satisfy different needs of humans. xTool is trying to satisfy people's needs for creation. That's why we commit ourselves to making creation easier for every individual.
By providing facilitating tools, software, materials and tutorials, xTool is trying to make creation easier, expanding the boundary of creation, inspiring creative ideas, and increasing the fun of creation.
Disclosure: We are reader-supported. If you buy through links on our site, we may earn a small commission. Learn more.
Specs
xTool F1: Fastest Portable Laser Engraver with IR + Diode Laser: $1,471.08
xTool M1 Desktop Laser and Blade Cutting Machine: $1,195.08
xTool D1 Pro 40W + 10W Laser Cutting Bundle: $1,747.98
xTool D1 Pro Desktop Laser Engraver Cutting Machine: $1,103.99
xTool P2 + F1 Ultimate Productive Business Duo: $6,297.00
xTool P2 Versatile and Smart Desktop 55W CO2 Laser Cutter: $4,199.00
Want both laser cutting and engraving and the option to cut materials with a blade? Check out the xTool M1! Learn all about this hybrid cutting and engraving machine so you can make a decision about adding one to your craft room!
What is the xTool M1?
The xTool M1 is a hybrid cutting and engraving machine. This means that it’s two machines in one—a laser cutter/engraver and a blade cutter. You can cut and engrave thicker materials like basswood and acrylic using the laser, as well as cut thinner soft materials like vinyl and iron on using a blade. We’ll talk about a lot of these materials later in this post.
The M1 gives you the capabilities to cut and engrave a wider variety of materials within a single machine. You don’t have to choose between buying a laser cutter and a blade cutter. This means you can make everything from engraved cutting boards, to laser-cut Christmas ornaments, to DIY t-shirts.
Machine Cost
The xTool M1 comes in two models, the only difference being the laser wattage (see below).
These are their MSRP prices, but I’ve seen the 5W as low as $899 and the 10W as low as $1099 on their site, so keep an eye out for sales before purchasing!
I have the xTool M1 5W, but if I could go back, I would definitely get the 10W. I think the speed upgrade alone (one of the features of a higher-watt laser) would be well worth that $200 if you can swing it.
Diode Laser vs. CO2 Laser
Let’s start by talking lasers! I’m not going to go into all the scientific detail about diode and CO2 lasers (I couldn’t explain the actual science behind it if I tried), but I will talk a bit about the difference since it may affect your decision.
The xTool M is a diode laser. A diode is a more economical laser than the CO2, making it perfect for hobbyists and everyday crafters. It’s also more durable than a CO2 laser and has a longer lifespan.
While it lasts longer and costs less, it is considerably less powerful than a CO2 laser. For example, my xTool M1 is a 5W laser (they also have a 10W xTool M1), while my Glowforge is a 45W CO2 laser. xTool also makes a 40W CO2 LaserBox, so that’s an option if you want to look at CO2 lasers as well.
A diode laser can also be significantly slower than a CO2 laser and may require more passes at slower speeds to cut through certain materials. While I love the price of a diode laser, the slower speed is definitely something to consider.
The engraving precision is also key here. The higher the wattage, the more accurate the engraving. A CO2 laser can generally create a much more detailed engraving than a lower watt diode laser, though overall I was pretty impressed with the engraving quality of the xTool M1.
But the real thing that matters is…will the diode laser cut the different materials you want it to cut and engrave the things you want to engrave at a more affordable price? Or do you want to spend the money on the higher-watt CO2 laser for more cutting and engraving power?
Hopefully I’ll be able to help you make that decision in this post!
Inside the Box
The box is packed really well, but still use caution when opening it. Here’s what you’ll find inside:
xTool M1 machine
Vent exhaust pipe
Vent pipe connector
Vent pipe clamp
Four vent pipe screws
The two pieces of the power cord
USB cord*
Bundle of “triangle prisms”
Bundle of sample materials
Five 45° replacement blades
USB cord note: I have a newer MacBook Pro and I don’t have USB ports on my computer. I have an adapter to allow me to use the cord with my USB-C ports.
Size and Dimensions
I really like the size of the xTool M1 machine, especially compared to the larger CO2 lasers. It’s about the same width as my Cricut Maker, but deeper and taller. It’s a bit heavy in the back, but I can pick it up and move it no problem.
The actual dimensions of the machine are:
Machine dimensions: 22″ wide x 18″ deep x 9″ tall
Machine weight: 21.6 lbs (9.8 kg)
Material area: 15″ wide x 12″ tall
You do need at least 18″ of space above the machine because the lid opens up to allow you to access your projects. And you will need a bit of space behind the machine (about 8″), because there is a vent pipe, which I’ll talk more about more below.
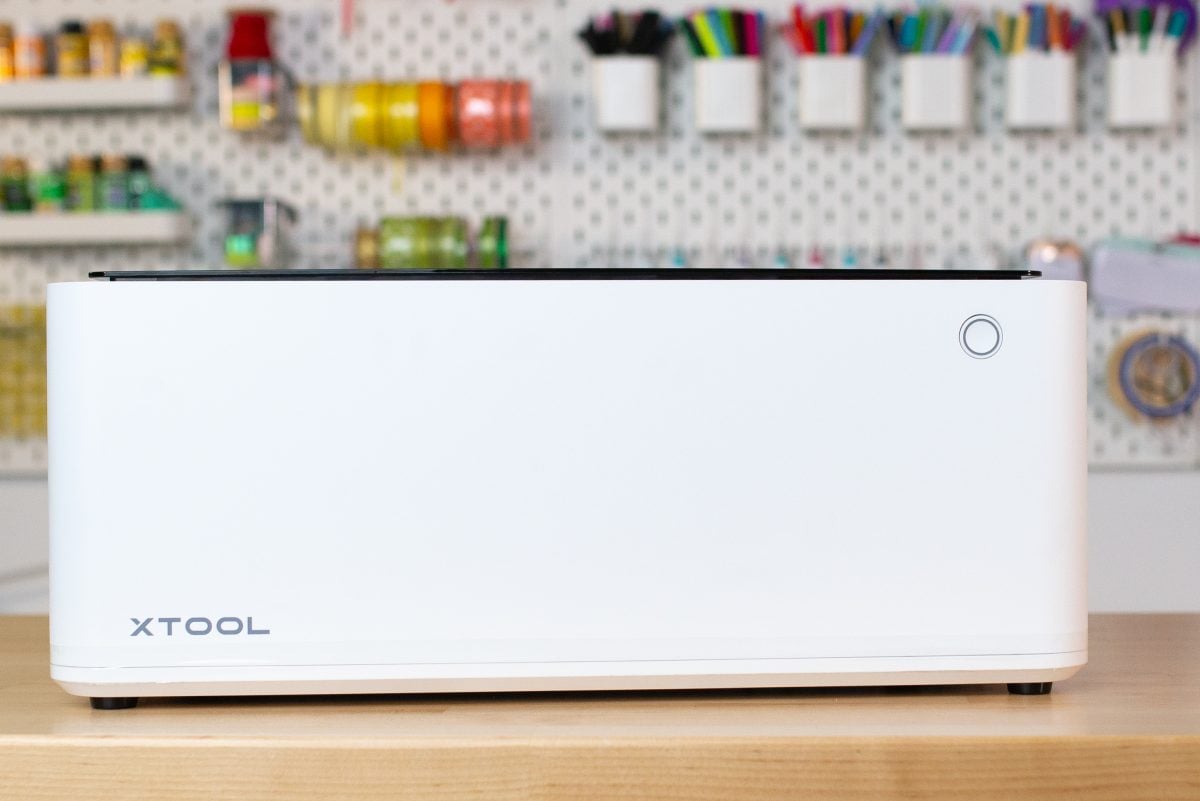
Anatomy of the Machine
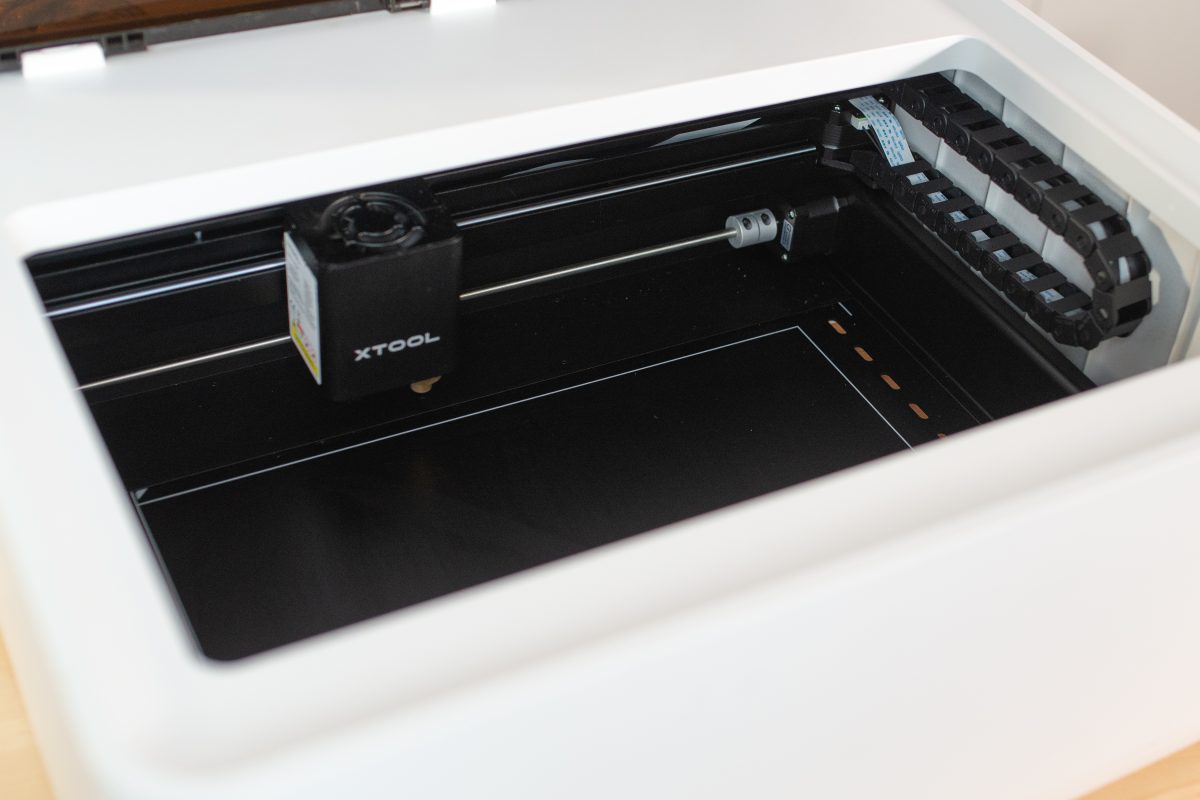
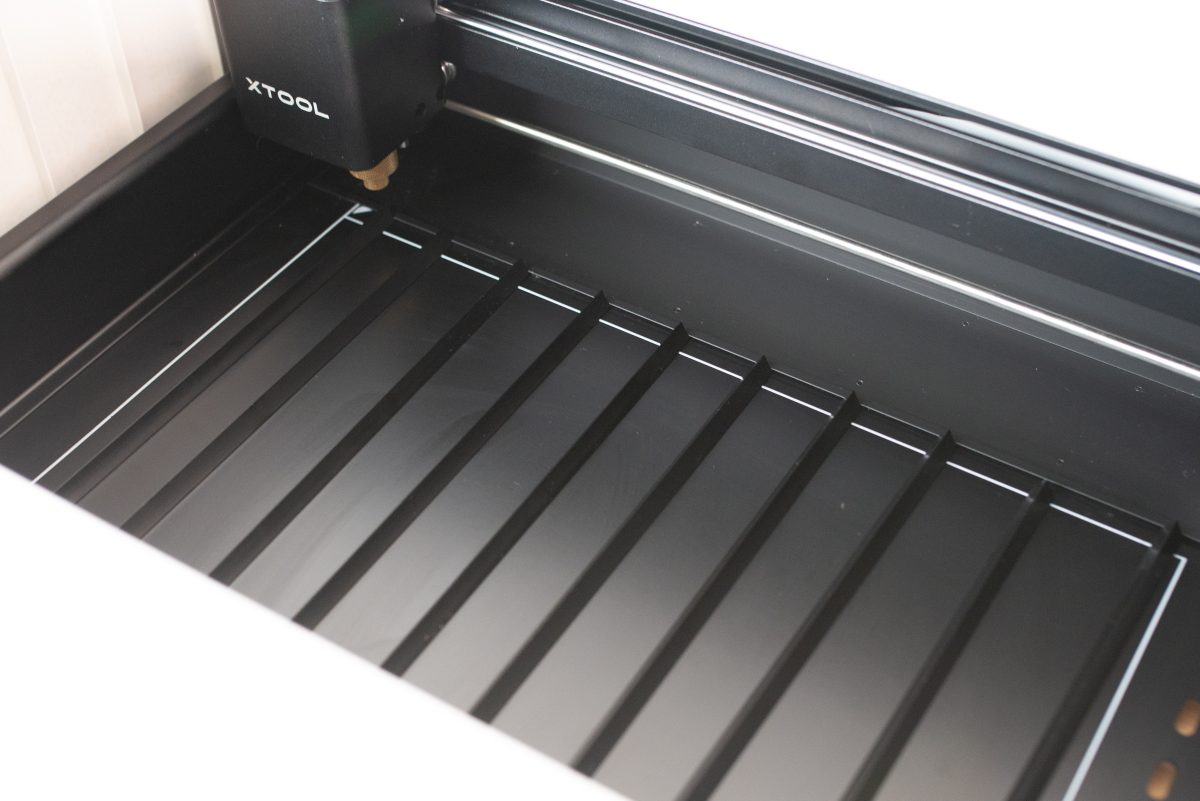
Now let’s look at the actual machine itself. The white enclosure houses a large empty bed where you’ll place your materials.
The lid is sort of like a welder’s helmet, tinted so you won’t damage your eyes when looking at the laser. This is a great feature since I have kids who always want to watch something cut.
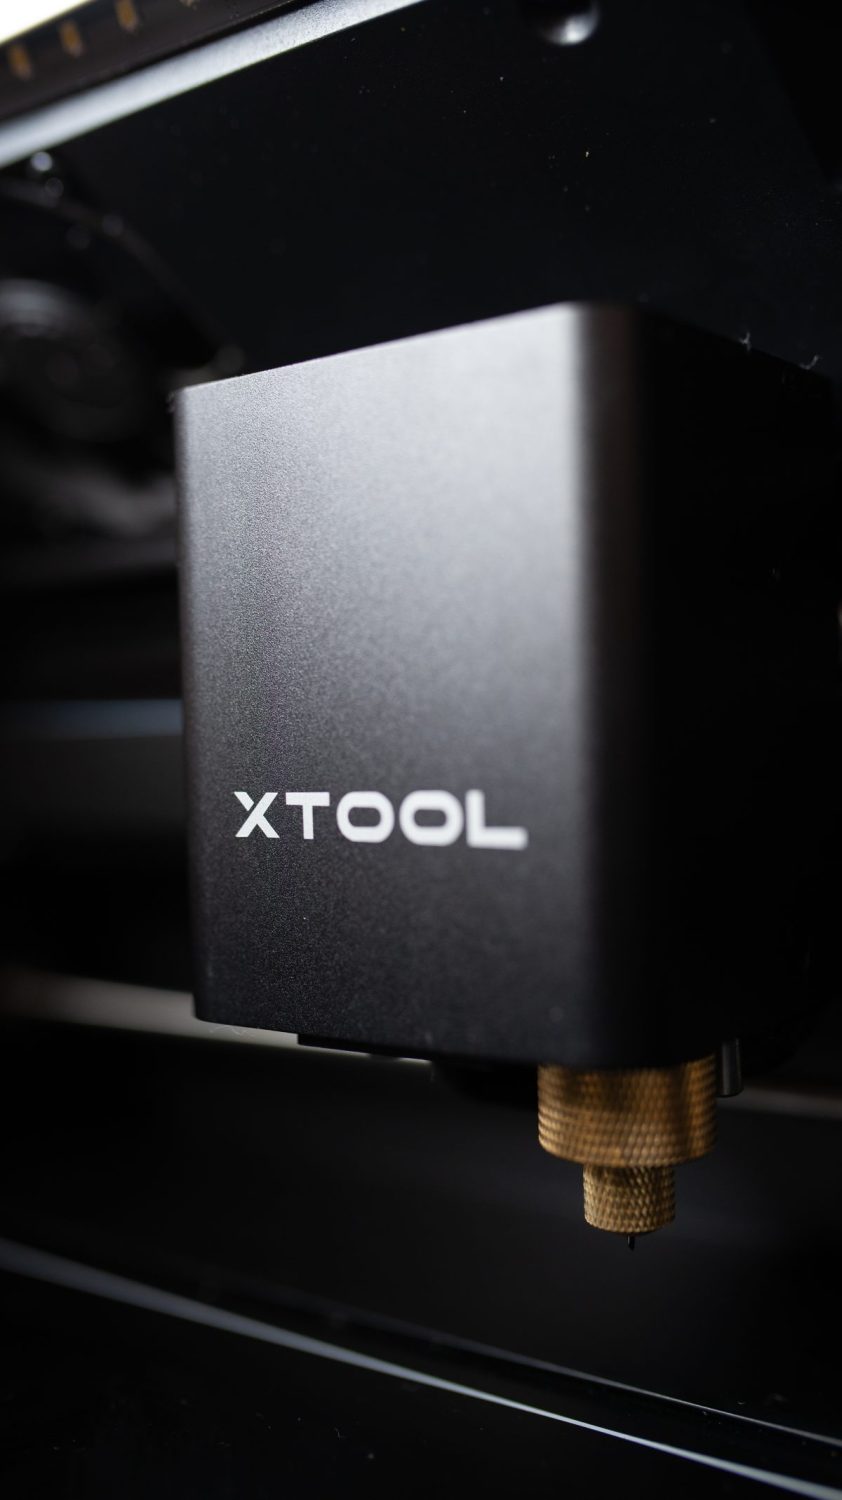
There is the laser module which houses both the laser as well as the gold blade housing. There are rollers that move the module back and forth while cutting and engraving. Underneath and toward the back is the high resolution camera that helps you position your material and images.
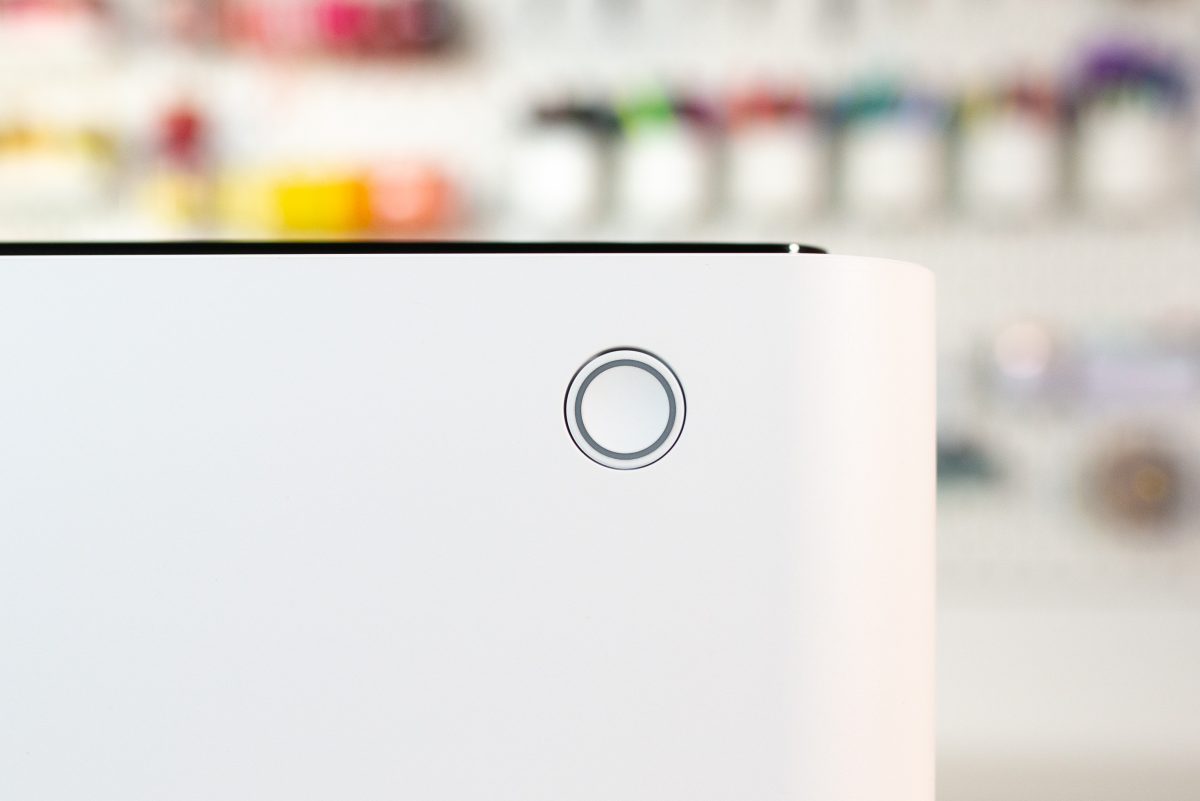
On the outside, there is a single button on the front, which you’ll press to start the machine’s cutting or engraving process.
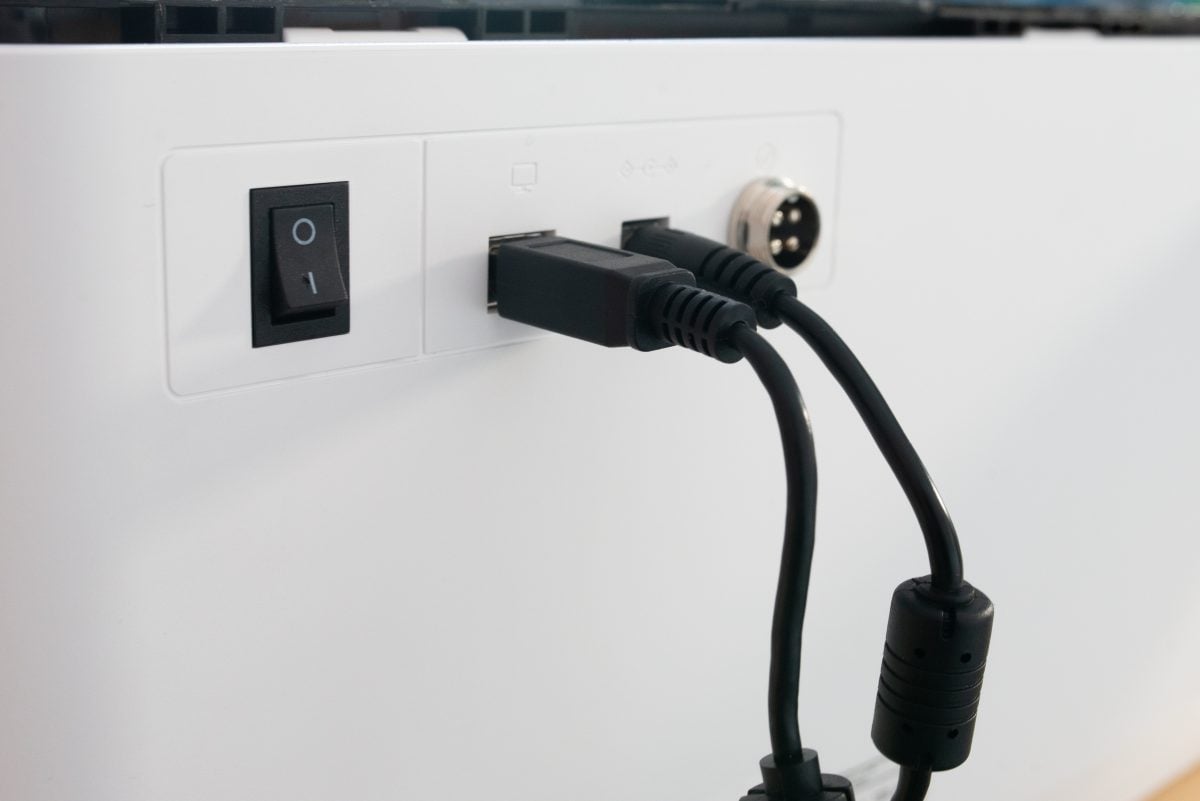
Then on the back is the vent, and connectors for a USB cord and power cord, as well as the power button.
Another interesting feature is that you can remove the bottom of the machine and raise it up, so you can engrave thicker materials or use their rotary attachment. The rotary engraving tool is designed for engraving cylindrical objects, like tumblers. I don’t have this tool yet, but hopefully I’ll get it soon and be able to share how to use it.
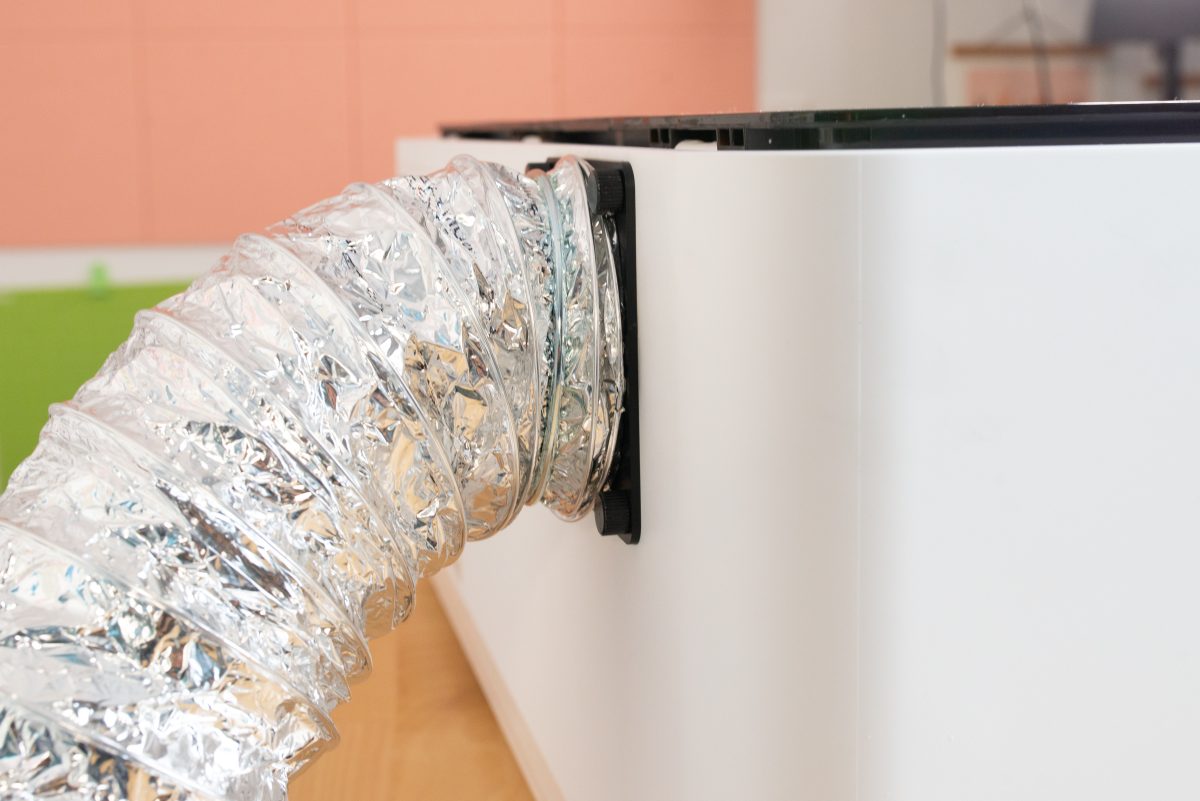
Because this is a laser cutter that creates smoke and fumes, you will need to use it outside or vent it through a window or door. To do this, you’ll attach the vent pipe connector to the back of the machine using the four screws.
Then use the vent pipe clamp to connect the pipe to the back of the machine. I needed a longer pipe than was provided, so I picked that up at my local home improvement store.
Then place the end of the vent pipe out the window or door.
You may find that there are still toxic fumes and smells associated with using the machine. Using the machine outside and/or wearing a respirator can help. I also run an air purifier.
Creative Space Software Overview
You’ll need to download Creative Space, which is xTool’s graphic design software. It’s a download on your computer, so you can use it while you’re offline, which is nice. I’m going to do a more detailed post on using this software soon, because there’s a lot to cover.
The software is fairly basic but it gets the job done. More than likely, you won’t be doing heavy design work within Creative Space. It’s more to either cut simple shapes or text, or to upload designs you’ve made or purchased elsewhere. A lot of it functions similarly to Cricut Design Space, if you’re familiar with that software.
Create or upload a project. Then, select each part of your project and change each of the contours (the outlines) to score, engrave, or cut.
xTool has some built-in settings for each operation, or you can play around with the power, speed, and number of passes in the sidebar on the left. You can change these engraving and cutting parameters if you’re not happy with your outcome when it’s on the manufacturer selection.
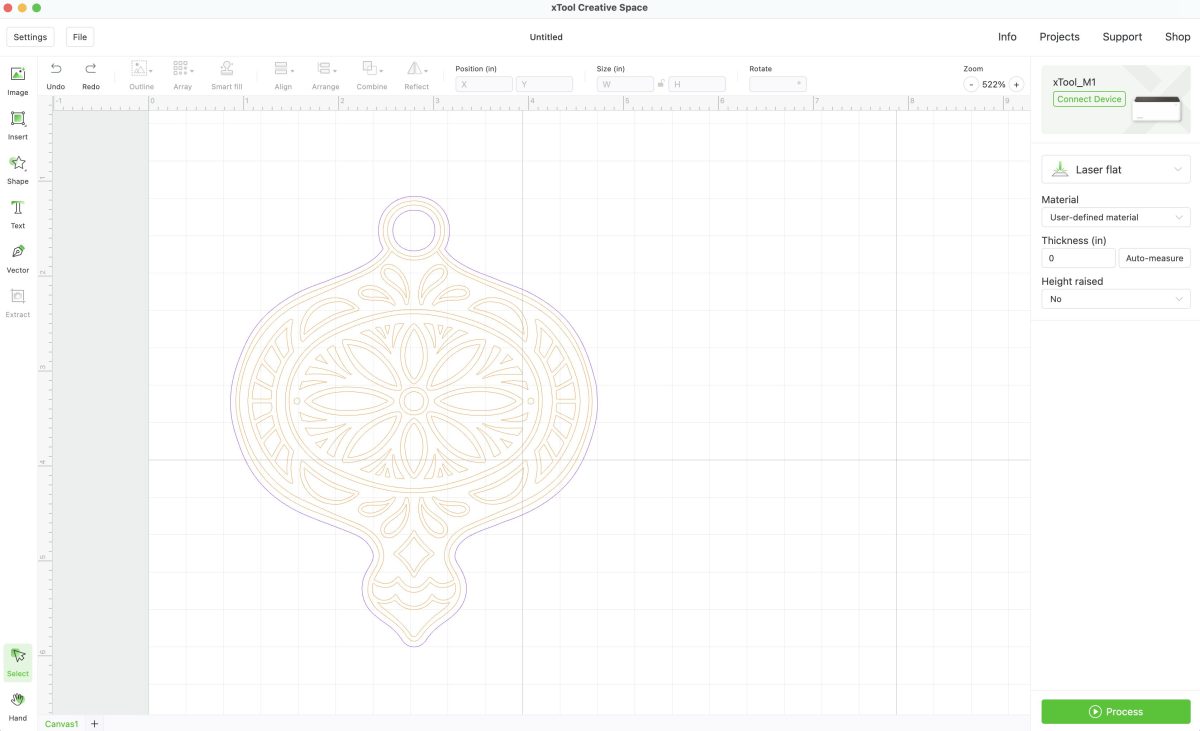
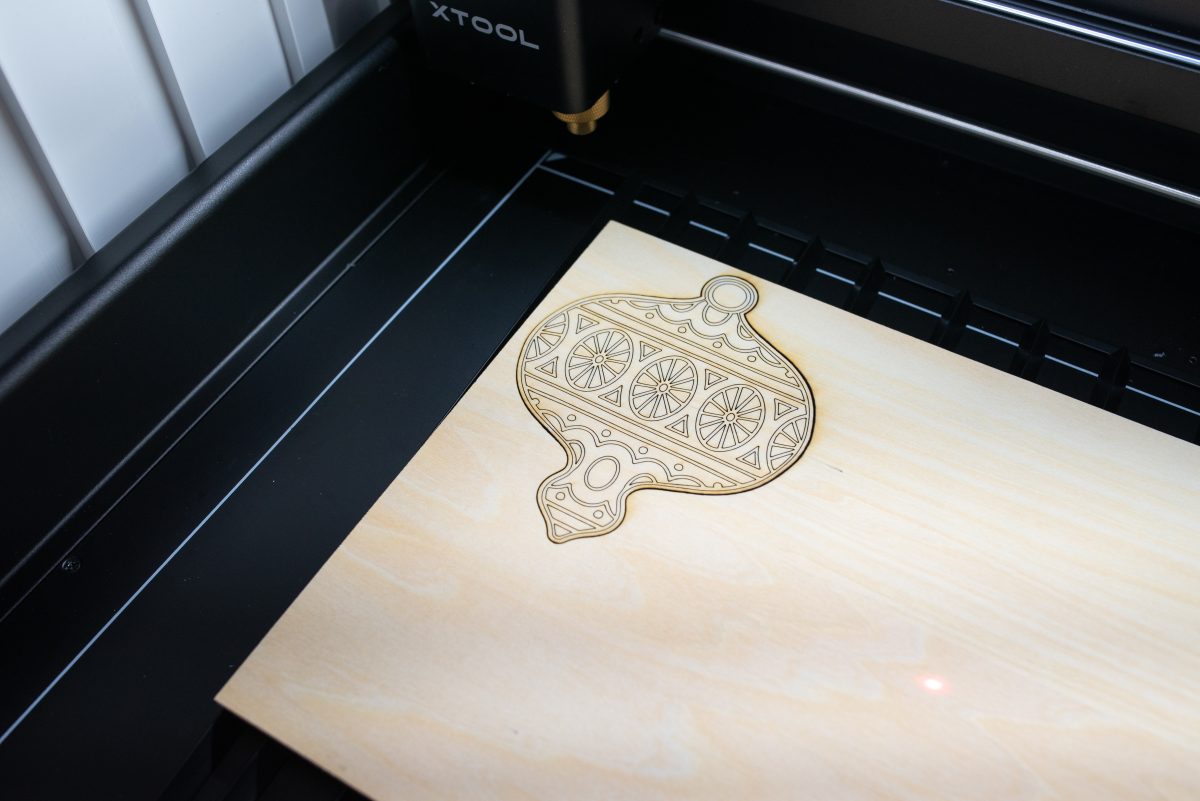
So for example, I uploaded this ornament, which came in as all scoring lines (orange). I resized it (clicking the “lock” icon at the top so it would resize proportionally). Then I selected the outside line as well as the inside line of the circle at the top and changed those to cut instead of score (purple).
When you go to make your project, click Process in the bottom right and the software will give you an estimated time. I’ve found this to be wildly inaccurate, so I hope xTool updates this soon. For instance, most of my files said they would take between 1 and 3 minutes, but it was more like to 10 to 25 minutes.
Laser Cutting and Engraving
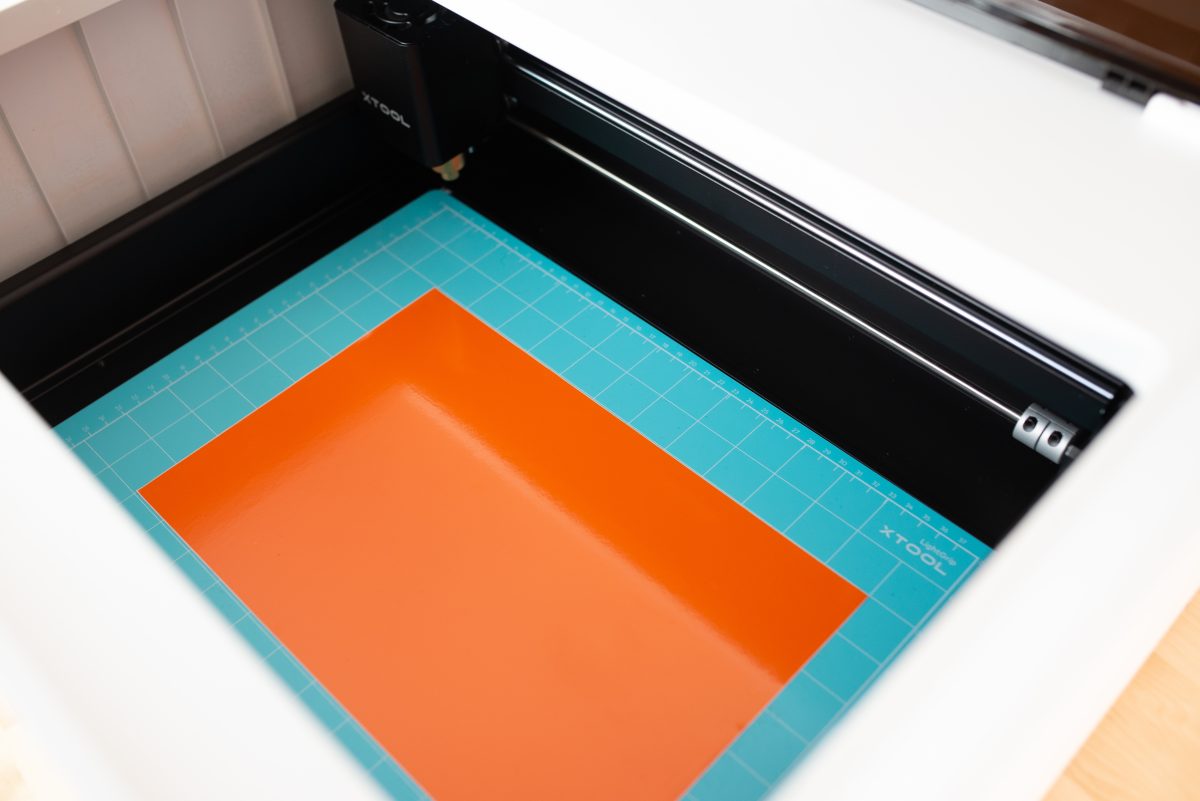
When you use the laser feature of the M1, a focused beam of light will cut through or engrave the top of your material. You’ll place your material in the bed of the machine, generally on top of the triangle prisms (see below). Then your laser will score, engrave, and or cut your project.
Scoring: a single line of engraving, good for creating outlines for painting or assembling or for decorative outlines
Engraving: an entire field of engraving, like a photo, logos, text, or other image.
Cutting: cutting all the way through the material.
Depending on the material you are cutting, you may have that “burnt edge” look, like with wood. You may not see that on other materials, like acrylic. You can buy an add-on called an Air Assist that basically helps reduce the amount of charring by blowing air on the project while it cuts. I didn’t have this feature when I first bought my machine, but I added it on and I do think it makes a big difference. I would recommend it!
If you do have unsightly burn discoloration on the top or bottom of your project, try a bit of rubbing alcohol—that often works. You can also mask your project, which I talk more about below.
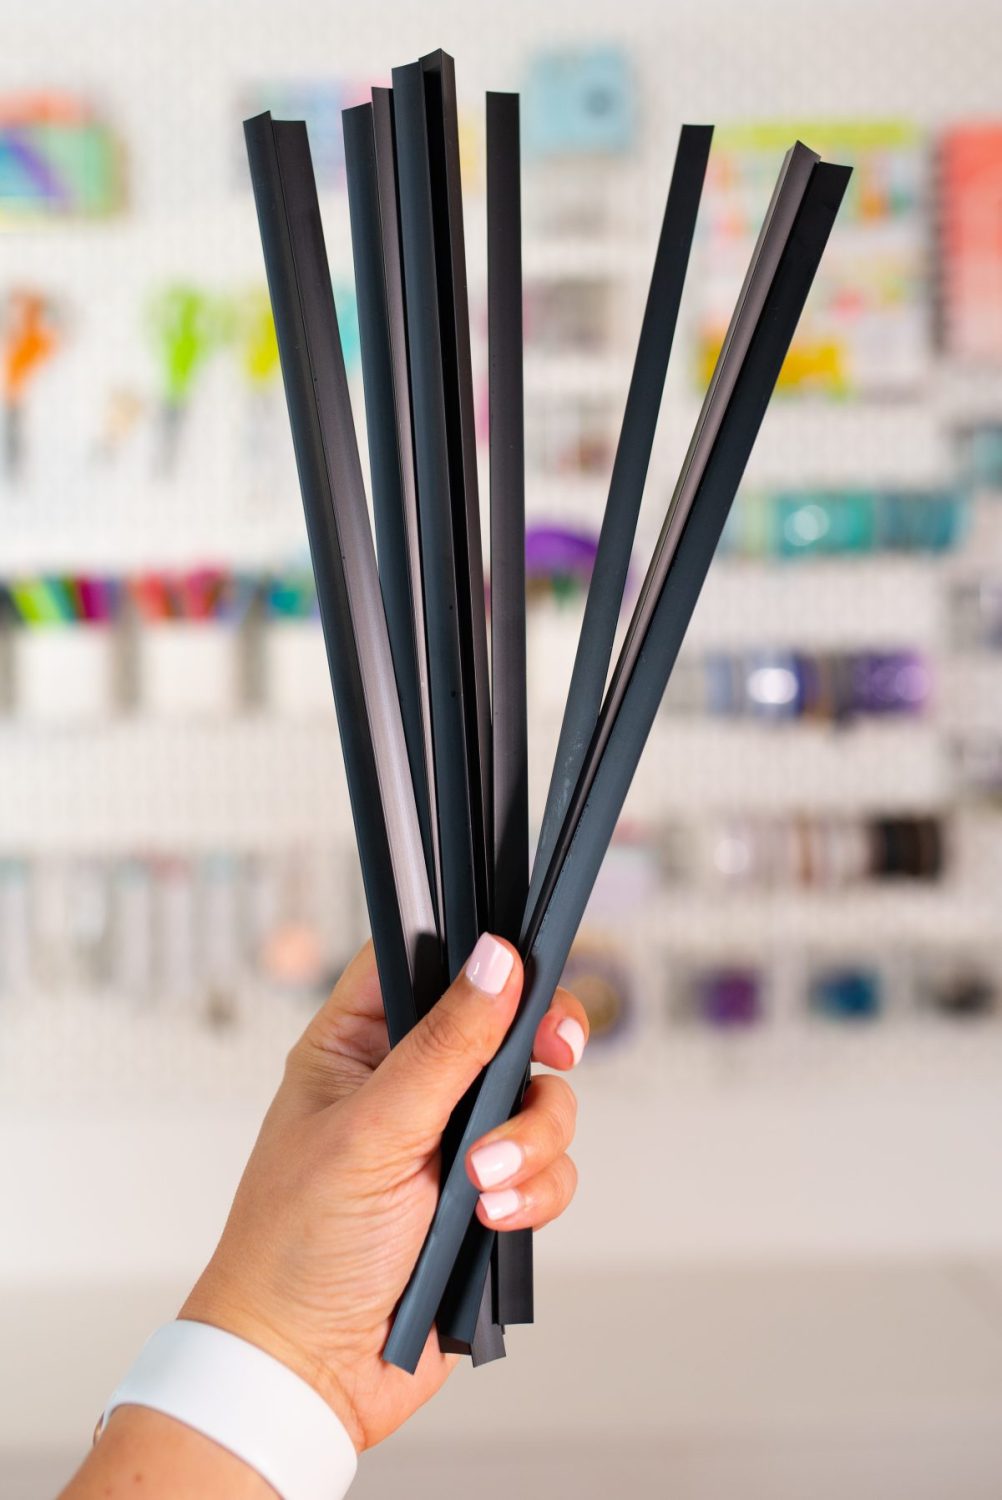
The triangle prisms were a user suggestion for the xTool M1.
Originally, you’d set your material on the bottom of the machine, but because that restricts air flow, users were finding a lot of issues with charring and flare ups. So the triangle prisms are there to help you lift your project off the bottom of the machine a bit to get that air flow. Just place them in the bottom of your machine when laser cutting.
You do not need the triangle prisms for engraving or blade cutting.
Blade Cutting
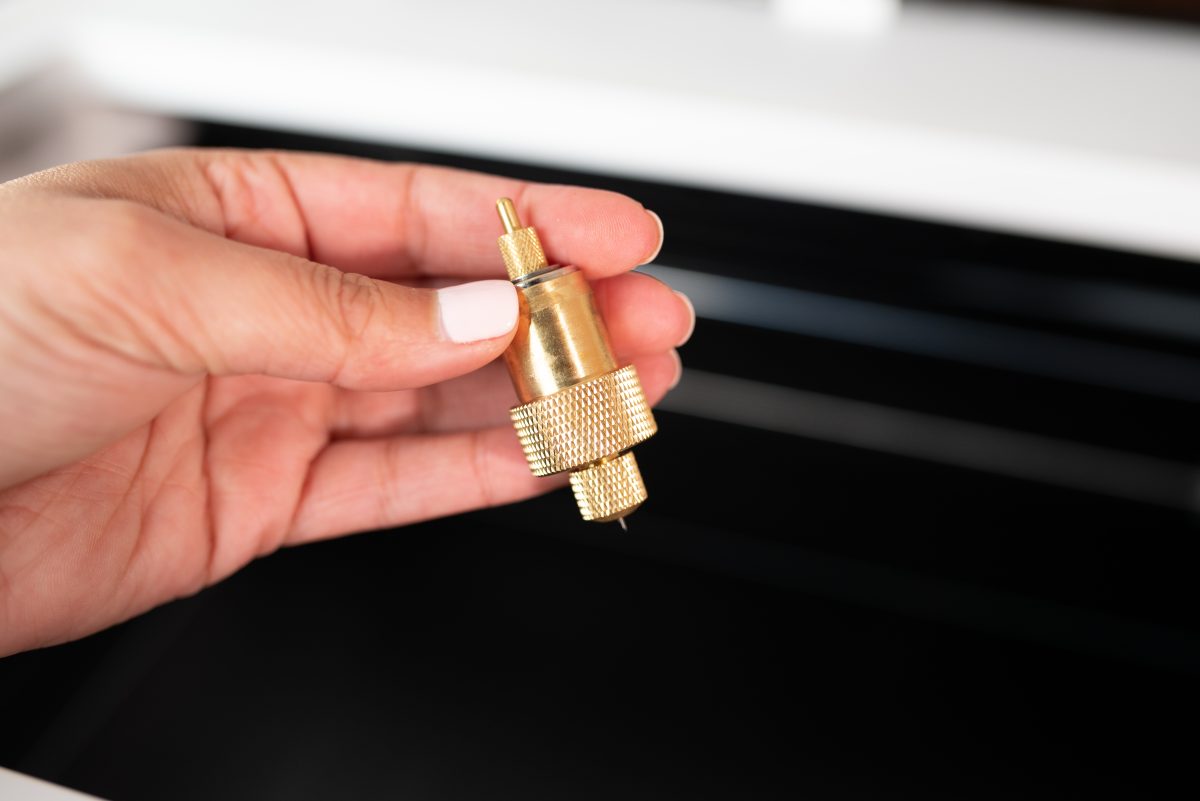
If you want to cut with the blade, you’ll need to add the blade to the blade housing. Just reach under your machine and pull out the gold housing. Remove the rubber cover on one of the replacement blades, and drop it in the housing, with the blade facing out. It will be held in by a magnet. Replace the housing back into the laser module.
The machine cutting mats are actually sticky on both sides. Peel off the backing sheet from the top of the mat (keep it so you can replace it for storage) and place your material down on the mat, making it smooth as possible.
Then peel the backing off the back of the mat and put it in the bed of the M1. Then choose Blade Cutting in Creative Space and choose your material. Your M1 will then cut your material on the mat using the blade.
Materials & Settings
xTool says the M1 can be used on a variety of materials for both laser cutting, blade cutting, and laser engraving. I’ve tested the ones below and linked to my notes for each. I’ll add to this list as I test more materials.
There are more, but this is a good start for most hobbyists. If you want to try other materials, check out the xTool forums or hit Google to see what other makers have done.
Acrylic (Laser)
Cutting acrylic can be a bit tricky with any diode laser. Because of how lasers and light work, there are some colors that are impossible to cut with this type of laser, including clear and blue. The laser light just goes right through them and nothing happens. This is definitely an area where you’ll need to test to see what works.
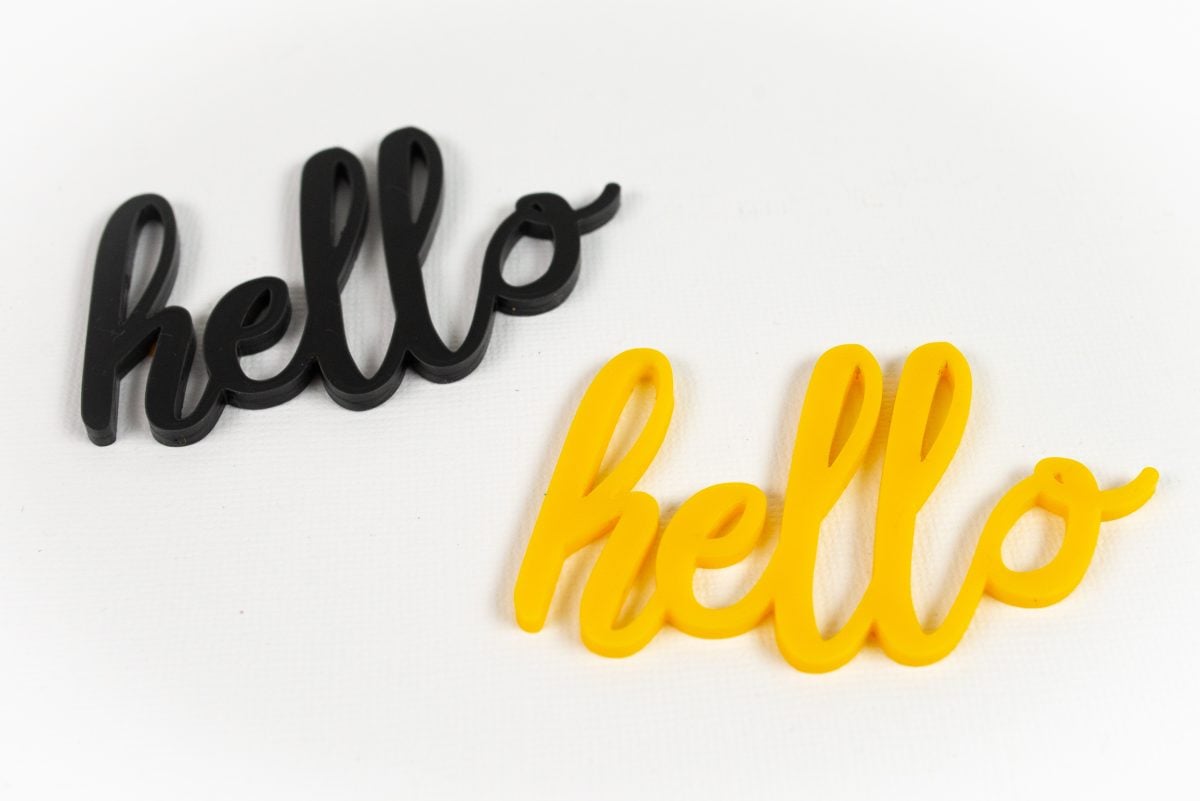
I started by testing opaque black 3mm acrylic. I used the settings provided by xTool and they worked well. It’s a slow process because the machine has to do four passes, but it cut nicely. Opaque yellow 3mm acrylic also worked great.
Opaque dark pink got close to cutting all the way through, but I’ll need to play with the settings to see if I can make it work.
I also test cut a few colors that did not work: a medium pink, a medium teal, and a dark teal.
This is definitely a material where you’ll have to test!
Basswood (Laser)
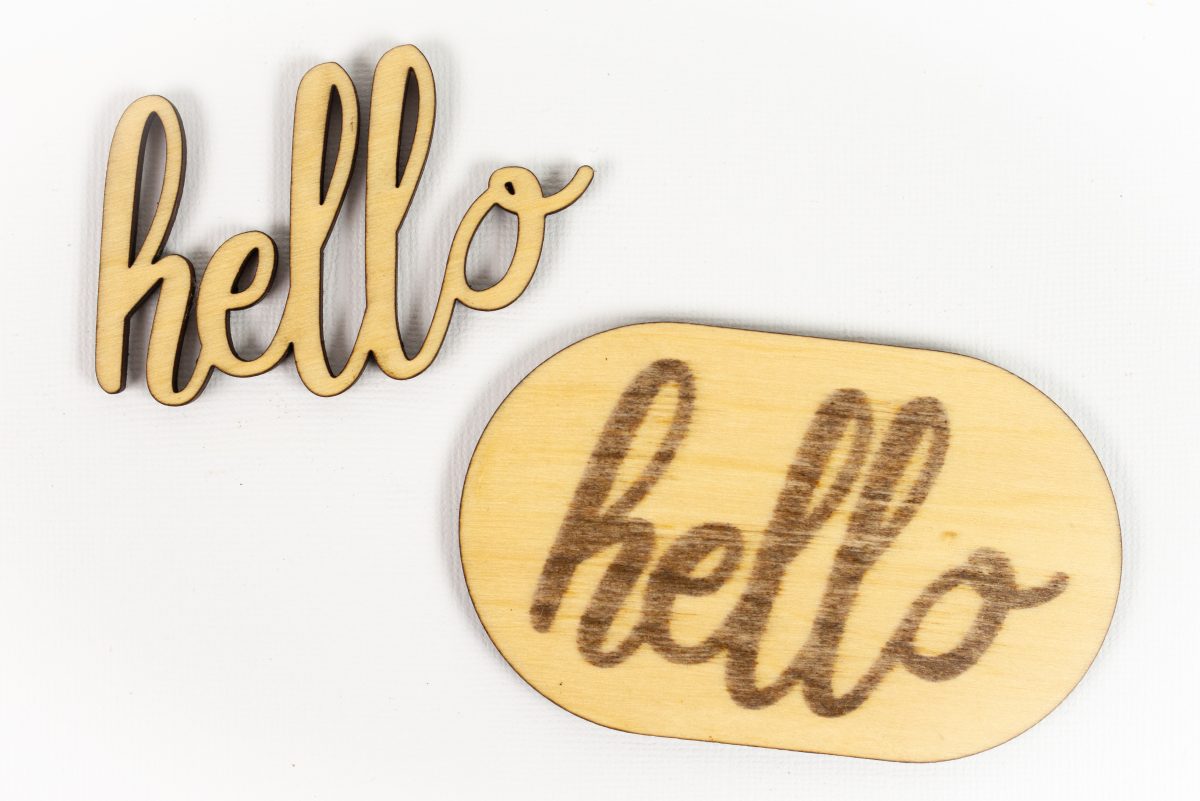
The sample 3mm basswood was the first material I tried cutting in the M1. I actually struggled quite a bit with this material and it didn’t cut all the way through. I think that was due to the fact that my sample piece of basswood was a bit warped.
But after that, I tried another brand of basswood using the standard settings and it cut well. So I think it must have been my sheet of basswood vs. the machine itself.
I also engraved the basswood, which I didn’t love. This is definitely due to the softness of basswood—other woods engraved much better.
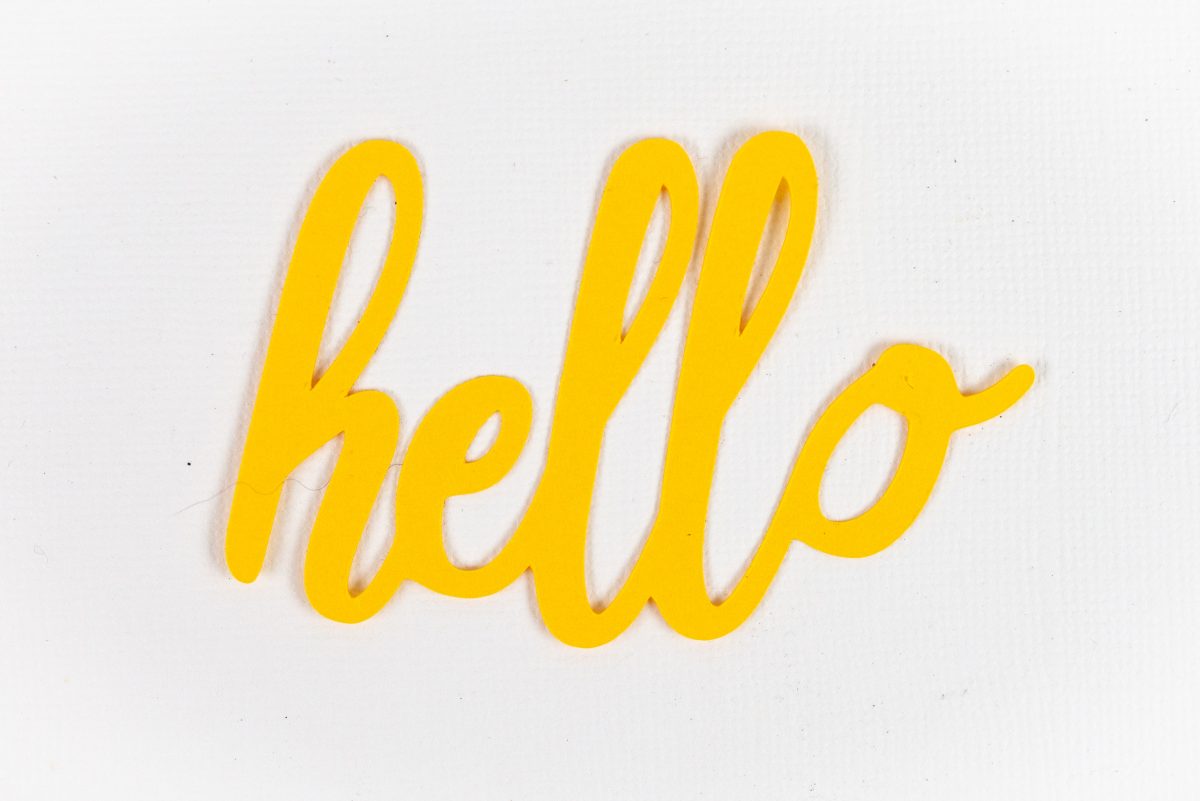
Cardstock (Blade)
I cut my favorite Bazzill cardstock and it cut perfectly the first time on the Brown Craft Paper setting. xTool definitely could add some more materials to the materials list, but with some guessing you can probably get pretty close to what you need.
Faux Leather (Blade)
There’s a sample of very thin faux leather that comes with the xTool that cut beautifully with the blade.
Problem is, I’m not sure where you can buy ultra-thin faux leather like that. I have a drawer full of PU leathers from various retailer and none of them cut well with the xTool blade. This wasn’t surprising to me—the Fine Point Blade on a Cricut doesn’t do a fantastic job either. It’s much better cut with the Cricut’s Rotary Blade.
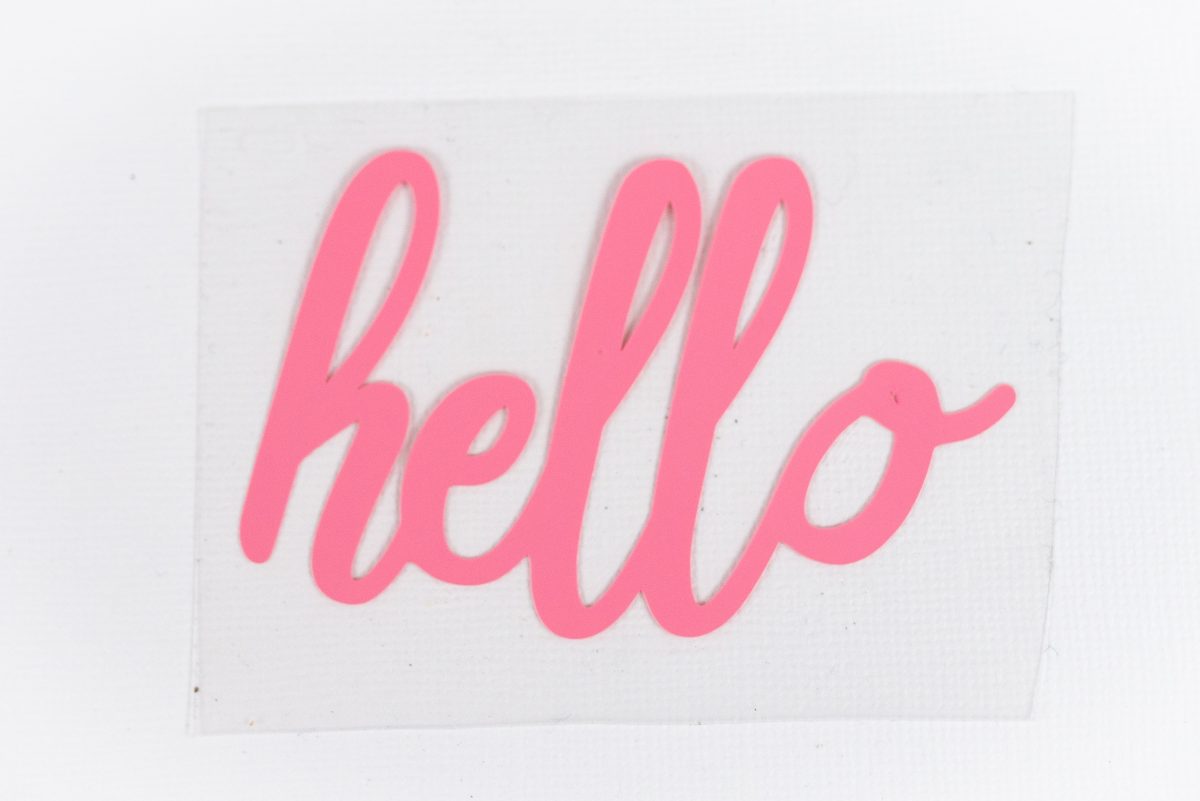
Iron-On (Blade)
I was curious how well the xTool M1 would “kiss cut” materials like iron on vinyl (sometimes called heat-transfer vinyl or HTV), and it cut it really well on the PU Heat Transfer setting.
Leather (Laser)
I had a real leather sample and it cut really well with just a single pass on my 1″ circle. I would suggest a setting of Power 100%, speed 5mm/s, and 1 pass. The biggest problem for me was the smell of the burning leather—it was pretty terrible. So much so that I didn’t want to cut a full “hello” example like the rest of the materials here. Perhaps if the machine was outside with even better ventilation, it would be better. Just something to be aware of!
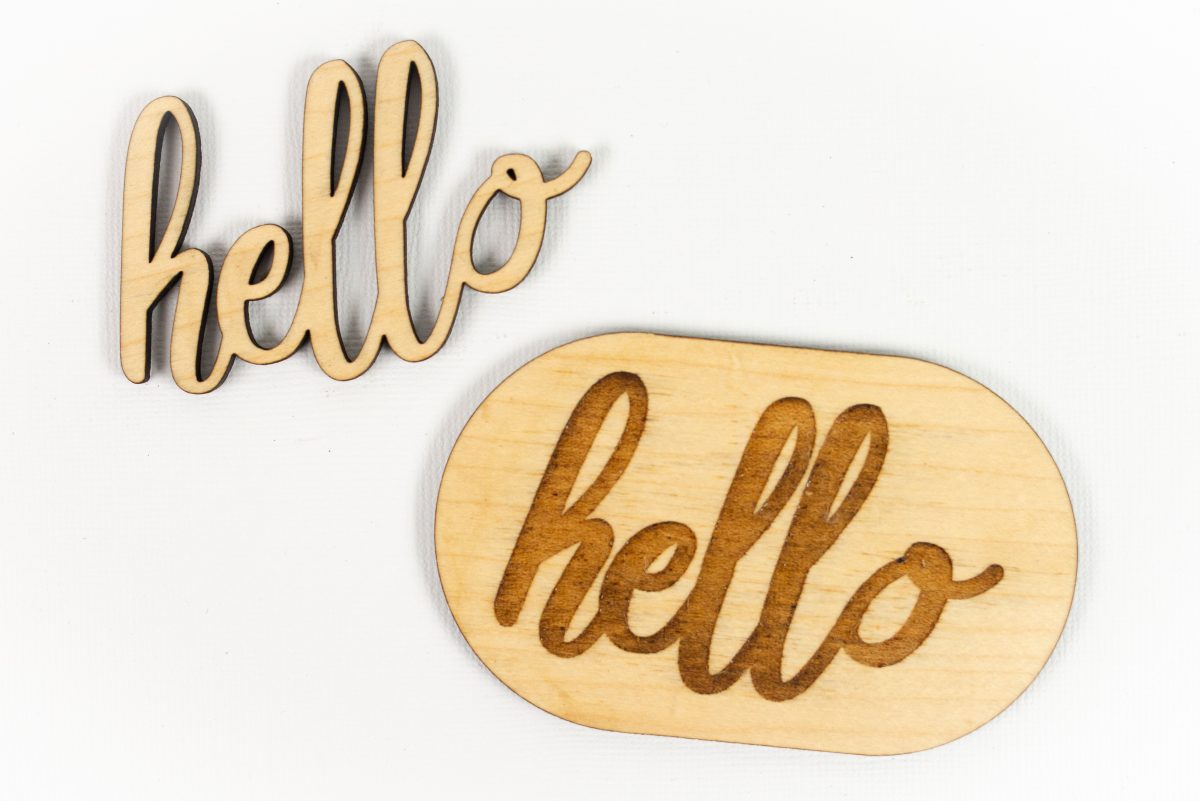
Maple (Laser)
Maple cut great on my xTool M1 using the “Cherry” setting (there is no Maple setting at the time of this post). I really like how this engraved as well—a very crisp result. This is definitely my favorite wood to cut and engrave that I tested so far.
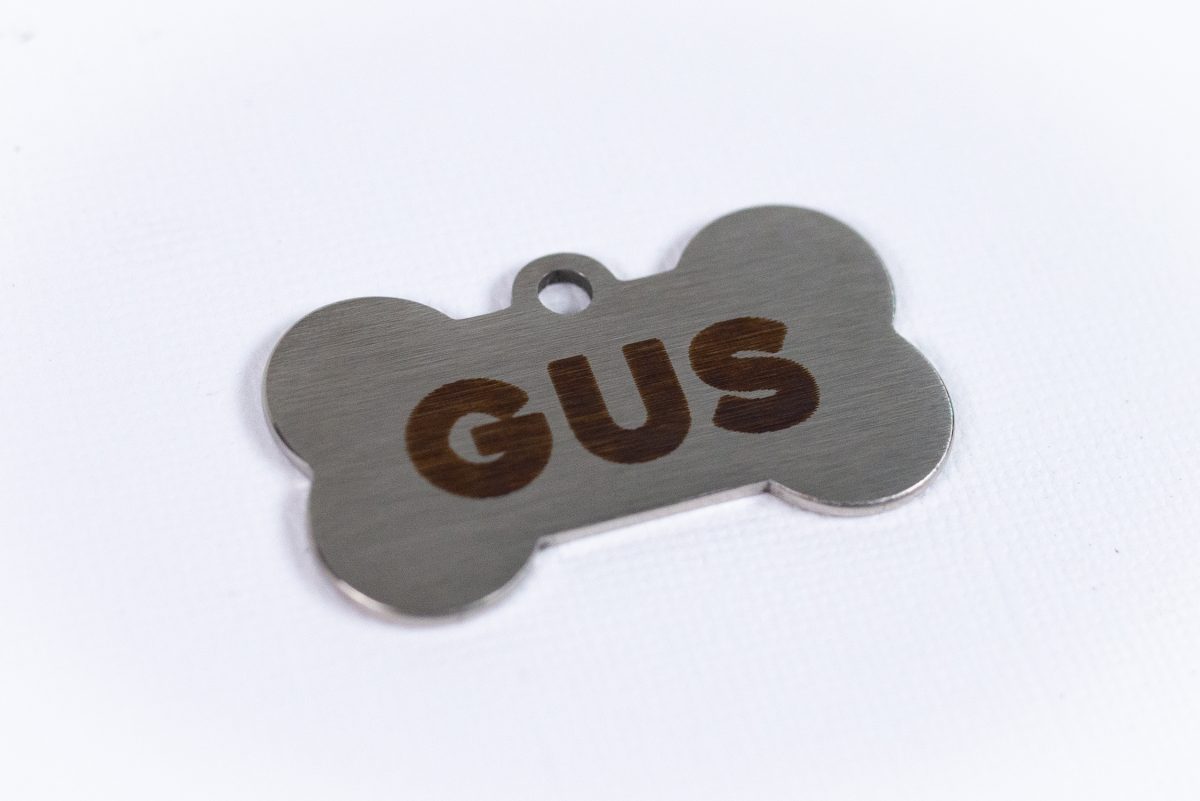
Metal (Laser, engraving only)
The xTool M1 can only engrave metal, not cut it (this is the same with CO2 lasers—you need something much more powerful to actually cut metal). I engraved the dog tag that came in the sample pack with a simple font (Heavitas) and my dog’s name and it looked pretty good to me.
Vinyl (Blade)
I cut some Oracal 631 removable vinyl using the removable self-adhesive vinyl setting. It did cut through the backing a bit at the top of the “h,” so I suggest lessening the cut pressure just a bit if you have the same issue.
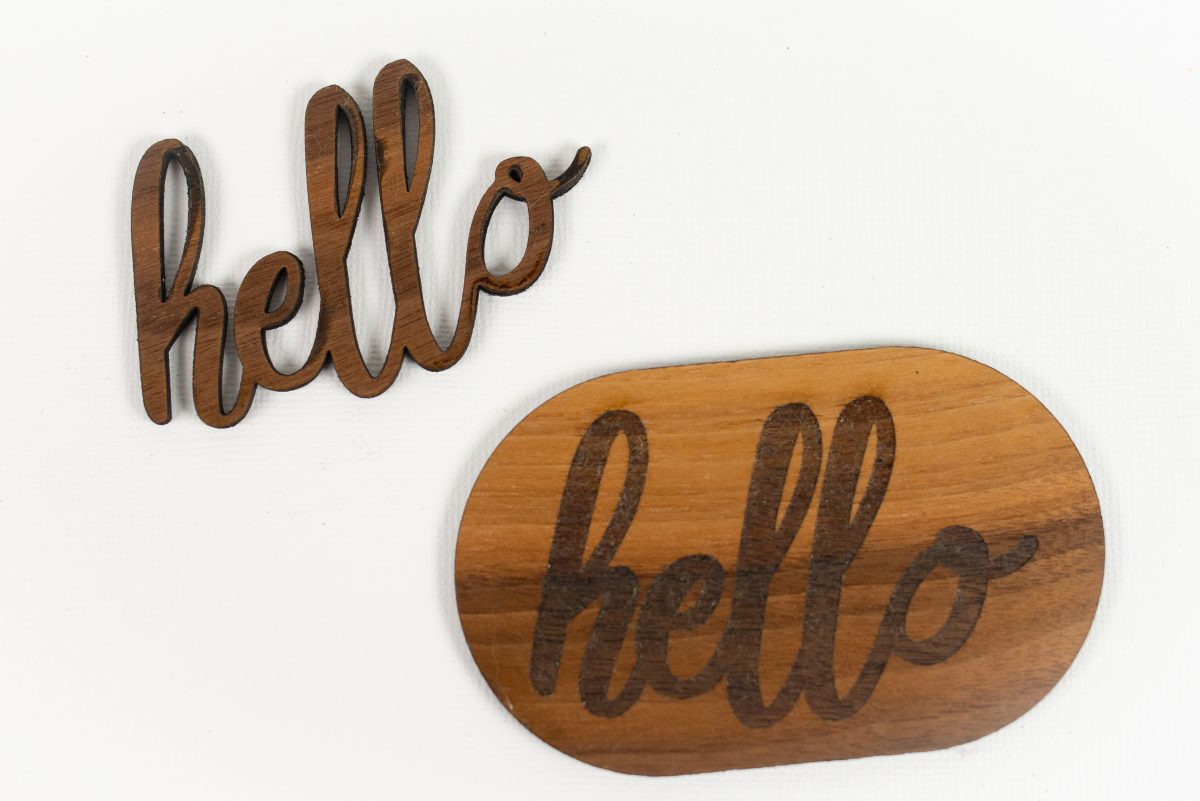
Walnut (Laser)
The Walnut cut great on my xTool M1 using the Walnut setting. It engraved really well, too, though I had to do quite a bit of cleanup because there was a lot of charring. I’ll definitely mask this for future cuts to prevent some of those burn marks.
A mask is basically a layer of sticky material (often wide rolls of masking tape) that helps prevent burn or char marks on your projects.
I’ve always masked my materials when cutting on my CO2 laser, but I haven’t found it as necessary with the M1. Because of the lower wattage, it just doesn’t seem to create the burn marks like the higher powered laser. Of the materials I tested, the Walnut was the only one that had some real charring.
That being said, if you are noticing burn marks in your projects, you can mask them. Be sure to adjust your settings accordingly, boosting the power or slowing the cut speed to compensate—yes that small layer of masking tape DOES make a difference. Test before doing your final project.
Speaking of testing…
Test, Test, Test
If you’re going to invest in this machine, know that it will require testing. This is the same as with so many types of machine crafts these days, from laser cutting to sublimation printing. There are no settings that will work in 100% of the cases. So you’ll have to test. It will cost you time and materials, so you have to decide if that’s worth it for you.
My suggestion is using a simple shape to test, like 1″ circles. Start with the recommended cut settings and go from there. Then once you have that dialed in, try your more complex project. Most of the time that worked for me. But in the instance of the dark pink acrylic I mentioned above, it cut my circle just fine but didn’t cut my “hello” image all the way through in some places.
Then, when you find settings that work, write them down. That way you won’t have to spend so much time and materials testing when you cut or engrave in the future.
Pros and Cons
There’s been a lot in this post, so I thought I’d talk about some of the pros and cons of the M1 xTool so you can weigh whether or not this is a good purchase for you.
Pros
More affordable than a CO2 laser
Hybrid laser and blade cutting
Nice size for hobbyists
Quiet operation
Batch processing
Machine stops when lid is open
Removable base for expanded capabilities including rotary engraving
Cons
Very slow cut and engrave speed
Can’t cut all acrylic colors
Only one style of blade
Overall First Impression
Getting the xTool M1 out of the box, I really liked the size, and when I turned it on, I was happy to hear that it was on the quiet end of the spectrum when it comes to crafting machines.
But when I started to work with the sample basswood, I really struggled trying to get it to cut through. I tried this file four times with four different settings and every time it never fully cut through. That made me a bit nervous, to be honest.
Thankfully I had another sheet of basswood and it cut just fine. After trying a few other materials, I found this to be a pretty competent laser cutter. If you need help, you can always checkout their blog or FAQs, too.
The software is basic but intuitive and I think most beginners should be able to use it fairly easily. I could see this being a great beginner machine, especially for folks who don’t want to spend the money on a more expensive CO2 laser.
My only real hesitation is the speed of the machine. It’s significantly slower than my CO2 laser and my Cricut. For example, cutting the acrylic “hello” file above took about 25 minutes vs. the 1 or 2 minutes it would take on my CO2 laser. And cutting with the blade is slower as well.
Therefore this is probably not the right machine if you want to start a business. The time to cut and engrave is probably not fast enough for most businesses who need to be creating lots of products quickly.
But if you’re on a budget and just want to make projects for yourself or your family and friends or do small runs of products, then it’s definitely a capable laser. Overall it’s a great entry machine if you’re looking to dip your toes in the laser cutting water!